Installation Guide
This guide covers installing the NexusAI Deployer on your system.
Download
Download the installer for your operating system from the provided distribution channel.
Available Formats
| Platform | Format | File |
|---|---|---|
| Windows | NSIS Installer | NexusAI-Installer-Setup-x.x.x.exe |
| Windows | Portable | NexusAI-Installer-x.x.x-portable.exe |
| macOS | DMG | NexusAI-Installer-x.x.x.dmg |
| Linux | AppImage | NexusAI-Installer-x.x.x.AppImage |
| Linux | DEB | nexus-installer_x.x.x_amd64.deb |
Windows Installation
Using the Installer (Recommended)
- Run the installer
- Double-click
NexusAI-Installer-Setup-x.x.x.exe -
If prompted by Windows Defender, click "More info" → "Run anyway"
-
Choose installation options
- Select installation directory (default:
C:\Program Files\NexusAI Installer) - Choose whether to create desktop shortcut
-
Choose whether to create Start Menu shortcut
-
Complete installation
- Click "Install" to begin
- Wait for installation to complete
- Click "Finish" to launch the application
Using the Portable Version
- Extract the portable executable
- No installation required
-
Run directly from any location
-
Launch the application
- Double-click
NexusAI-Installer-x.x.x-portable.exe
Windows Requirements
- Windows 10 version 1903 or later
- Windows 11 (any version)
- 64-bit operating system
- .NET Framework 4.7.2 or later (usually pre-installed)
macOS Installation
- Open the DMG file
-
Double-click
NexusAI-Installer-x.x.x.dmg -
Install the application
-
Drag the NexusAI Installer icon to the Applications folder
-
First launch
- Open from Applications folder
- If blocked by Gatekeeper:
- Go to System Preferences → Security & Privacy
- Click "Open Anyway" for NexusAI Installer
macOS Requirements
- macOS 10.15 (Catalina) or later
- Apple Silicon (M1/M2) or Intel processor
- 4GB RAM minimum
Linux Installation
Using AppImage
-
Make executable
-
Run the application
Using DEB Package (Debian/Ubuntu)
-
Install the package
-
Install dependencies (if needed)
-
Launch from applications menu or terminal
Linux Requirements
- Ubuntu 20.04 LTS or later
- Debian 10 or later
- Other distributions with glibc 2.31+
- X11 or Wayland display server
Verifying Installation
After installation, verify the application works correctly:
1. Launch the Application
The welcome screen should appear:
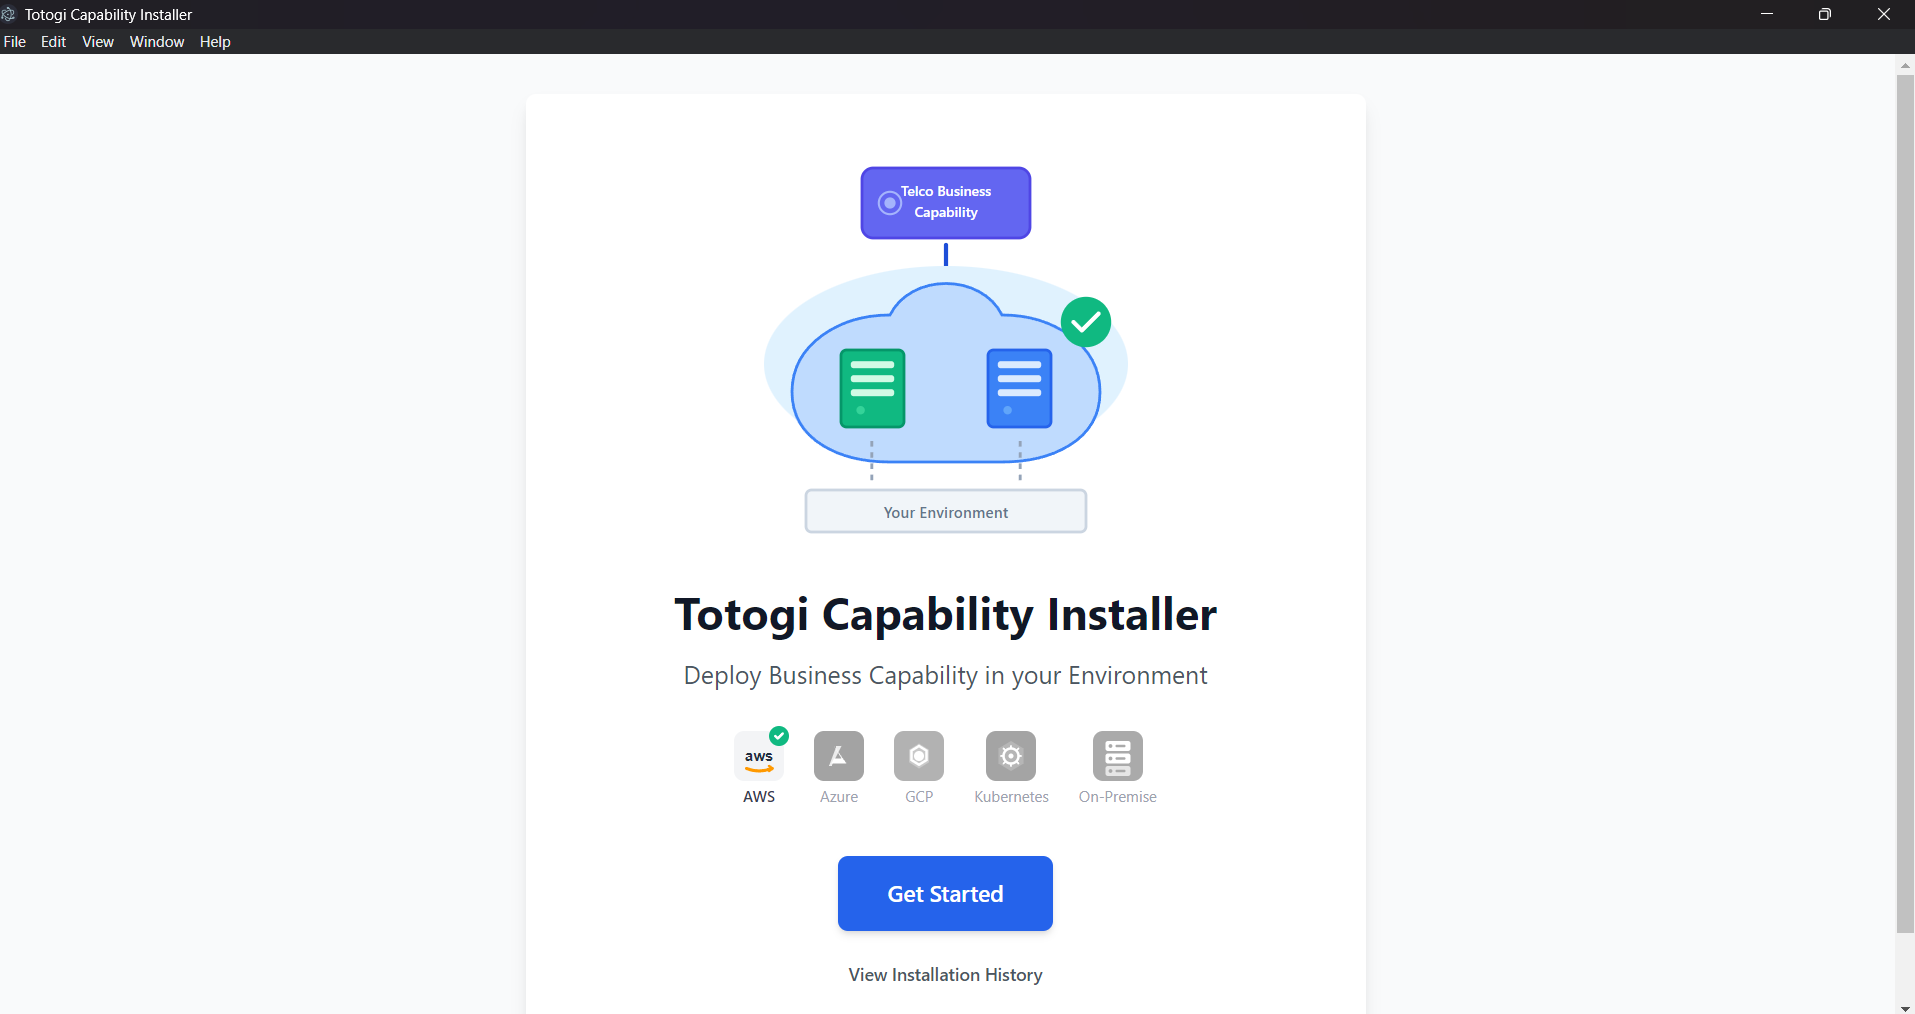
2. Check Backend Connectivity
- Click "Get Started"
- The capability list should load successfully:

If you see "Failed to load capabilities", refer to the Troubleshooting Guide.
Uninstallation
Windows
Using installer: - Go to Settings → Apps → NexusAI Installer → Uninstall
Or use Control Panel: - Control Panel → Programs → Uninstall a program → NexusAI Installer
macOS
- Drag NexusAI Installer from Applications to Trash
- Empty Trash
Linux (DEB)
Linux (AppImage)
- Simply delete the AppImage file
Configuration Files
The application stores configuration in:
| Platform | Location |
|---|---|
| Windows | %APPDATA%\NexusAI Installer\ |
| macOS | ~/Library/Application Support/NexusAI Installer/ |
| Linux | ~/.config/NexusAI Installer/ |
Firewall Configuration
The application requires outbound access to:
| Service | Port | Purpose |
|---|---|---|
| AWS APIs | 443 (HTTPS) | CloudFormation, IAM, S3, etc. |
| AWS STS | 443 (HTTPS) | Credential validation |
Ensure your firewall allows outbound HTTPS connections to AWS endpoints.
Proxy Configuration
If your network uses a proxy:
- System proxy - The application uses system proxy settings
- Environment variables - Set
HTTP_PROXYandHTTPS_PROXY
# Linux/macOS
export HTTP_PROXY=http://proxy.example.com:8080
export HTTPS_PROXY=http://proxy.example.com:8080

# Windows (PowerShell)
$env:HTTP_PROXY = "http://proxy.example.com:8080"
$env:HTTPS_PROXY = "http://proxy.example.com:8080"
Troubleshooting Installation
Windows: "Windows protected your PC"
- Click "More info"
- Click "Run anyway"
- This is normal for new applications
macOS: "App can't be opened"
- Go to System Preferences → Security & Privacy
- Click the lock to make changes
- Click "Open Anyway" next to NexusAI Installer
Linux: AppImage won't run
- Ensure it's executable:
chmod +x *.AppImage - Install FUSE if needed:
sudo apt install fuse
Application won't start
- Check system requirements
- Try running from command line to see errors
- Check if antivirus is blocking the application
Next Steps
- Getting Started - Quick start guide
- Deployment Wizard - Using the deployment wizard
- AWS Configuration - Setting up AWS credentials